Regardless of what your small business provides, having a custom domain name for your email address will communicate to your potential customers that you are more professional than competitors in your niche. So while you convey to the public that your business is the best option for the job, you might want to be able to send and receive business emails under that domain from the comfort of your very familiar Gmail inbox. Here is a quick guide on how to use Gmail with your custom domain name in four simple steps.
How to Use Gmail With Your Custom Domain Name
1. Create a Gmail account
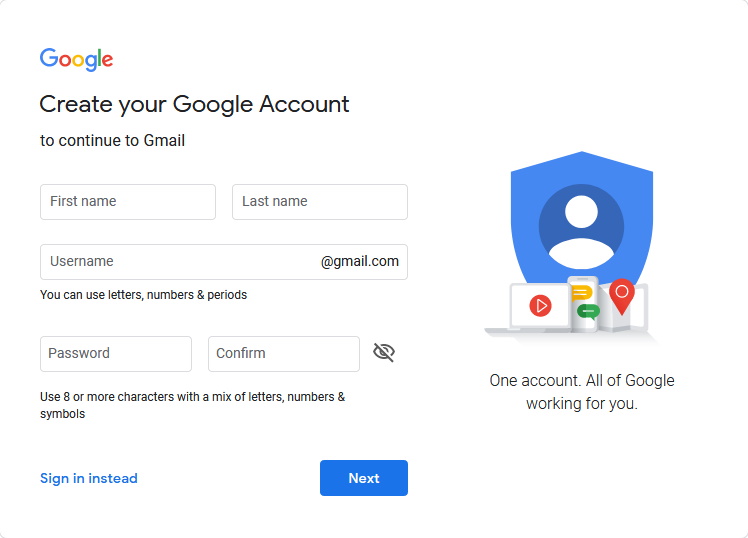
Your first step should be to create a free Gmail account. Feel free to skip this step if you already have one.Simply go to the Gmail site and click on the “Create an Account” button. You will now need to fill out your personal details. The process is quite intuitive.

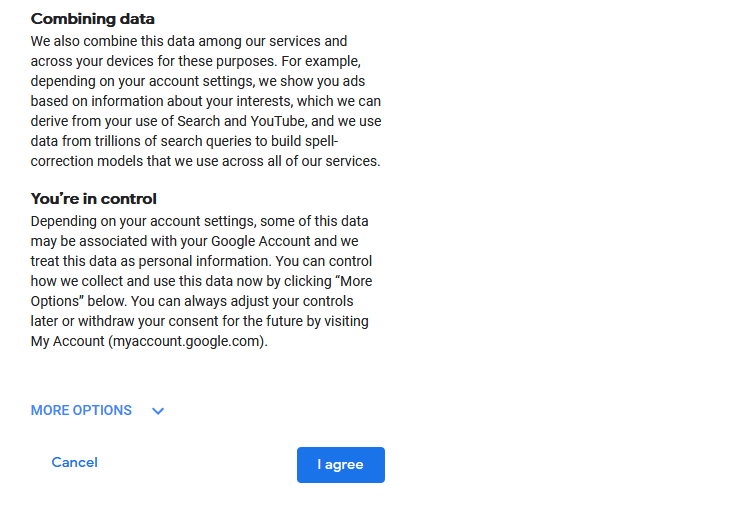
After you add your information, Gmail will ask you to agree to the privacy policy.
To proceed, simply click on the “I agree” button.
That’s all there is to it. Congrats! You have just created your own Gmail account.
2. Set Up Your Custom Email Address and Obtain Your Email Protocols
In order to add your custom domain to your Gmail account, you will need to have the POP3 and SMTP details of your custom domain. These can often be found in the configuration settings of your hosting provider of choice.
The first thing to do is create your custom email address, such as name@yourdomain.com.
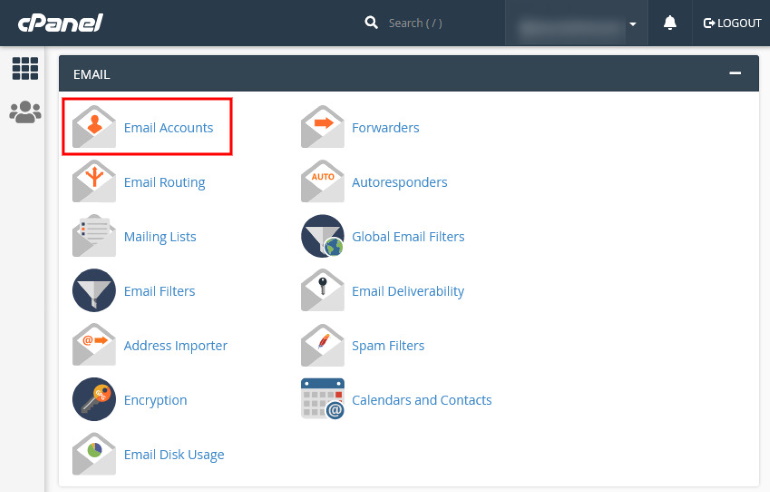
Start by preparing your email account in cPanel of your hosting account. Go to the Email section and click on Email Accounts.
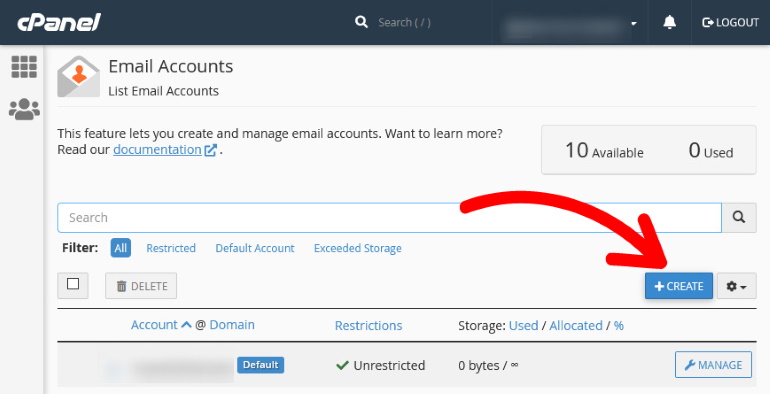
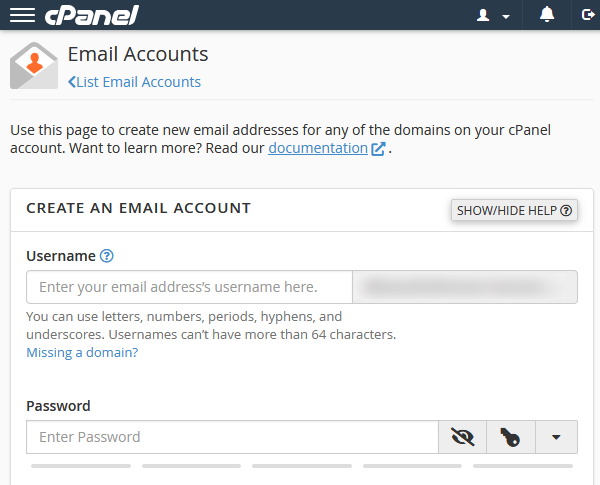
All the Email accounts currently in use will be listed on this page. From here you can manage yours or add another email address in the future. In the meantime, just click on the “Create” button.
Enter the Username and Password fields with the ones you wish to use. Store these credentials safely, since they will be very important in the future.
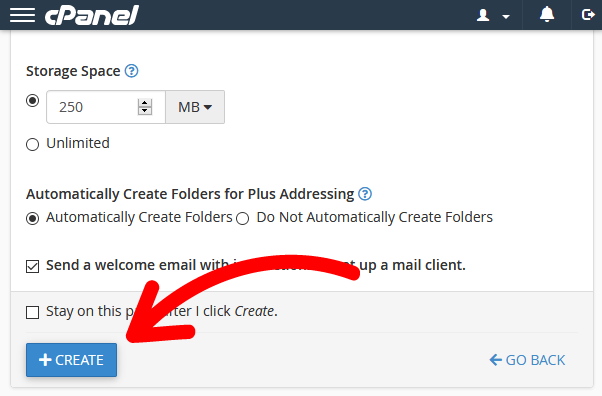
You will then need to set the email’s Storage Space. There are also other options here depending on your needs. When you’re done, simply click the “Create” button and your domain name email will be created.
You’re done! You’ve created your own email. It’s imperative that you check certain information before moving ahead. This info will come in handy later on. Your new email should appear on your Email Accounts page. Click on Connect Devices.

Note the information right below the “Mail Client Manual Settings” section.

Since you’ll need to look at this information multiple times later, it’s best to keep this open.
3. Add Your Custom Domain to Your Gmail
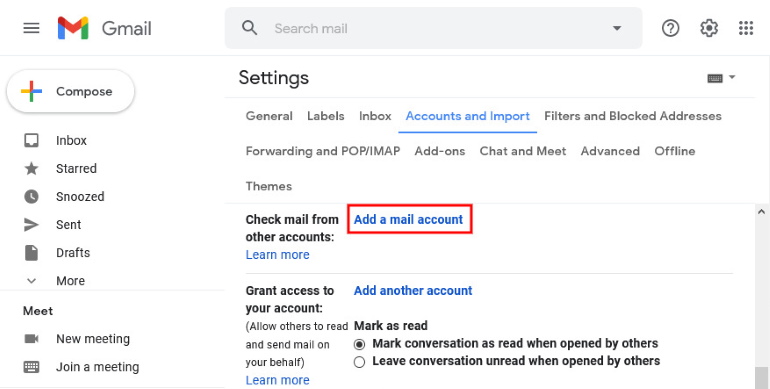
After you have your domain credentials in hand, log into your Gmail account. To begin, log into your Google account and click on the settings icon in the top right corner. Click on the “Accounts and Import” tab at the top.
Navigate to “Accounts and Import”, then scroll down to “Check mail from other accounts”.
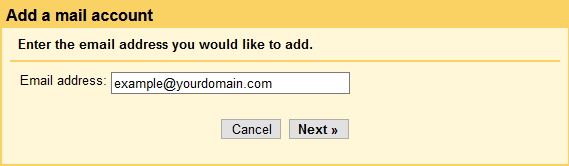
A new window will open asking for your email address. Once you have entered that and clicked “Next”, click “Import email from my other account (POP3)”, and click next.
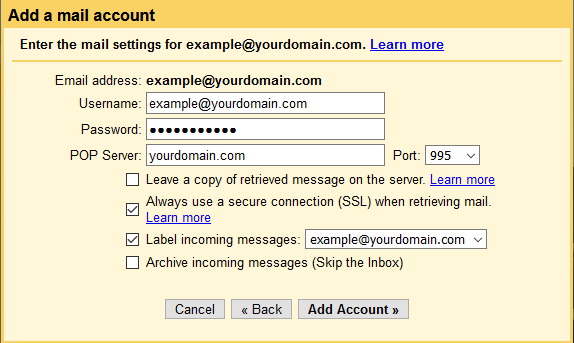
Here is where you will input your POP3 server information including the port along with the username (email address) and password associated with your domain. Check the option boxes that you wish to use, then click “Add Account“.
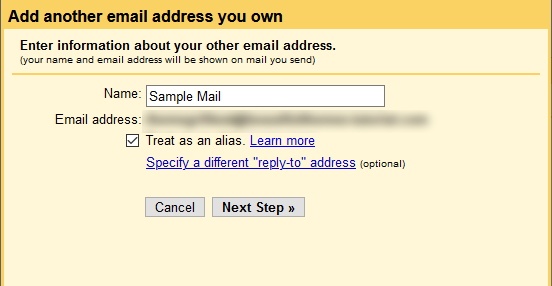
Next, to allow Gmail to also send emails out from that domain, you will want to click the “Yes, I want to be able to send mail” option, then “Next”. On the next window, you will fill out your name and email address and make sure the “Treat as an alias” option is checked then click “Next”.
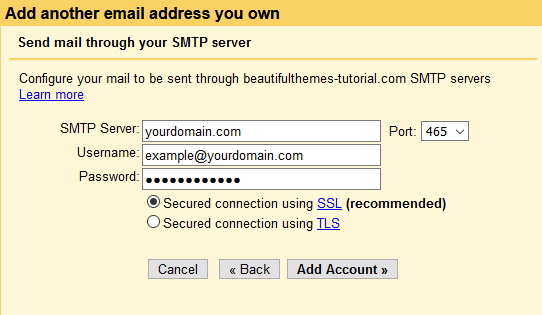
On this final window, you will enter the username and password associated with your domain once more, then fill out the SMTP server information including the port. With that done, click the “Add Account” button, then enter the code you should have received in the verification email to finalize the process.
4. Veirfy Gmail to Send Messages
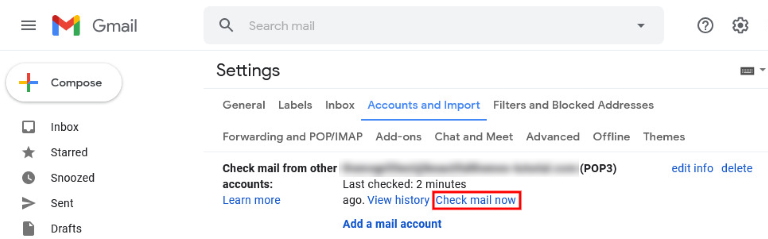
In your Gmail account, go to Settings > Accounts and Import. You should find your custom domain listed under “Check mail from other accounts“. Select Check mail now.
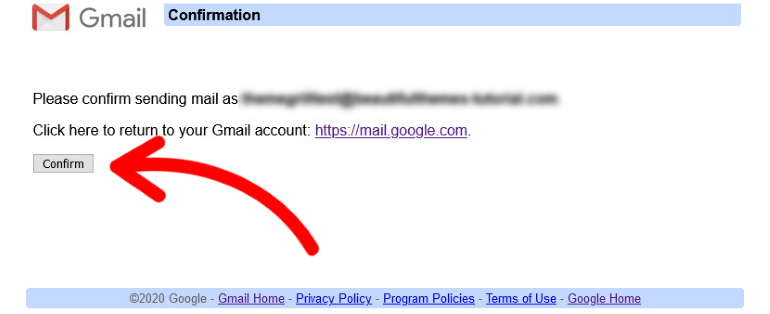
You will find a new email in your inbox. In order to complete the process, open the email and click the confirmation link. Finally, click the Confirmation button.
You are now able to manage your business’s custom domain email from your Gmail inbox along with all your other accounts! Enjoy the convenience this provides, and good luck with your business!