Self-hosted WordPress site
1. Log in to your WordPress website.
Once you’re logged in, you will be in your ‘Dashboard‘.
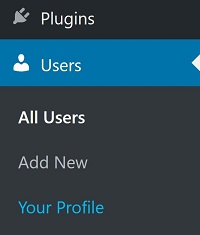
2. Click on ‘Users’
On the left-hand side, you will see a menu. In that menu, click on ‘Users’.

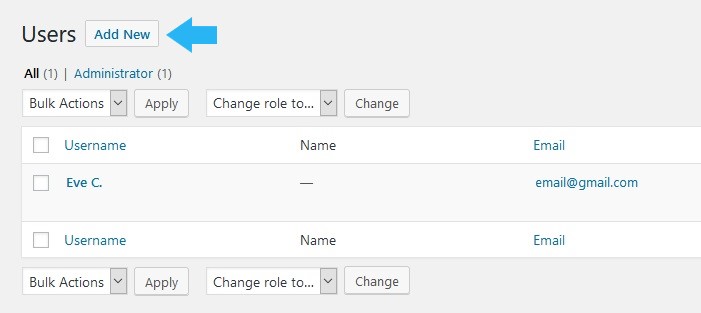
3. Click ‘Add New’
Across the top, click the ‘Add New’ button.

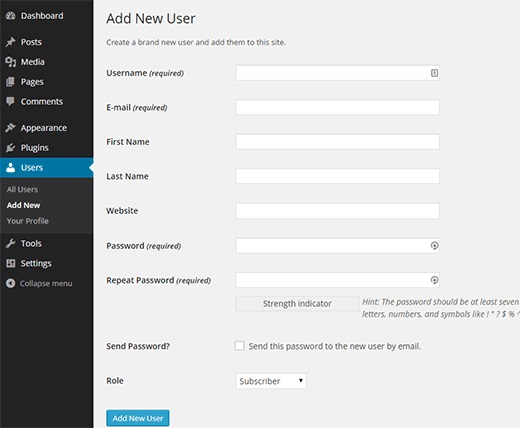
4. Fill out the form and set the role to Administrator.
If you’re creating the account for us, please DO NOT check ‘Send User Notification’.

5. Click ‘Add New User’.
At the bottom of the form, click the ‘Add New User’ button.
To be able to log in to your website, please copy the link to your admin login URL and the username in your email.
WordPress.com site
1. Log in to the WordPress.com website.
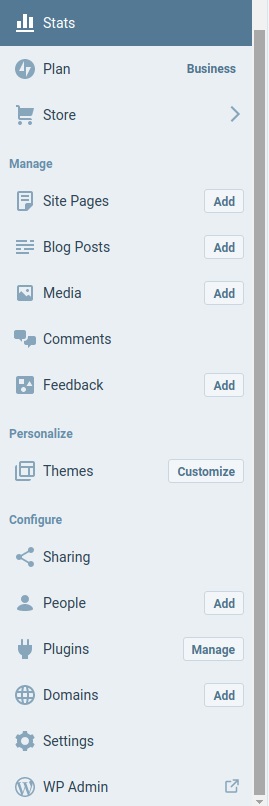
2. Click on ‘Settings’.
On the left-hand side menu, click on ‘Settings’.

3. Click on ‘Security’ across the top.
4. Turn off ‘Allow sign in using WordPress.com accounts’.
Scroll down to the ‘WordPress.com sign in’ section and turn off the ‘Allow sign in using WordPress.com accounts’.
5. Click on ‘WP Admin’.
You will be sent to your WordPress ‘Dashboard’.
6. Click on ‘Users’.
On the left-hand side menu, click on ‘Users’.

7. Click ‘Add New’.
Across the top, click the ‘Add New’ button.

To be able to log in to your website, please copy the link to your admin login URL and the username in your email.


